Three ways to lose body fat:
- Burn calories with cardio
- Speed up your metabolism with weight training
- Eat a healthy fat burning diet
Advertise Here
Abdominals (Abs)
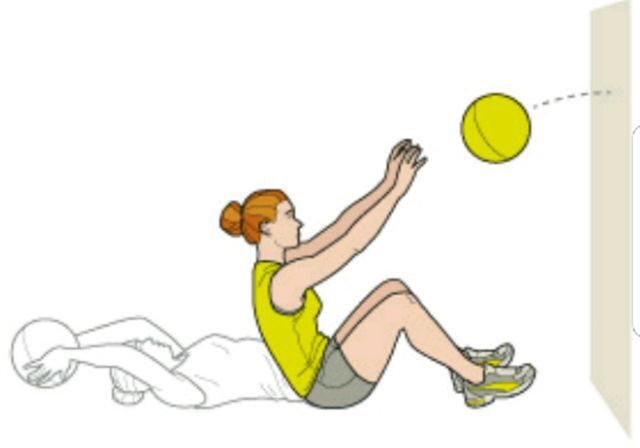
Medicine Ball Sit Ups
STEP 1: Select the appropriate weighted medicine ball. Lay your back on the floor with the ball extended overhead. This will be your starting position. STEP 2: Exhale as you squeeze your abs to bring you forward and into a seated position. Using both arms, throw the medicine ball from overhead to a chosen spot…
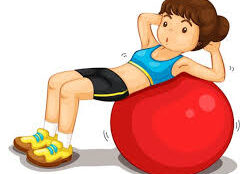
Read MoreStability Ball Sit Ups
STEP 1: Using a stability ball, sit on the ball with your feet shoulder-width apart. Begin to lower yourself securely by putting your shoulders, your back and your tailbone on the ball. Your feet should be flat on the floor with your knees bent. Position your hands behind your head for support of your head…
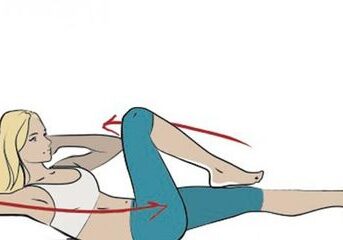
Read MoreOblique Crunch
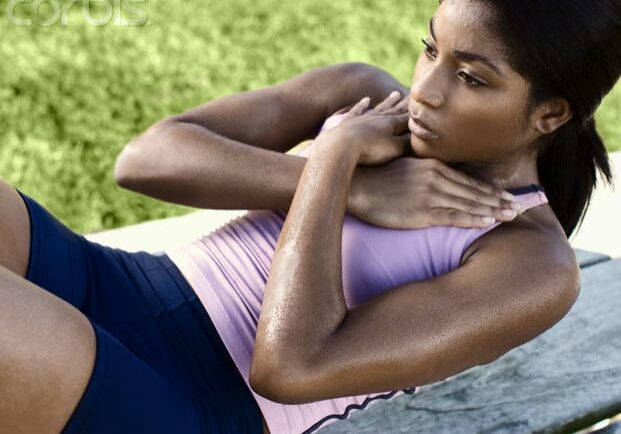
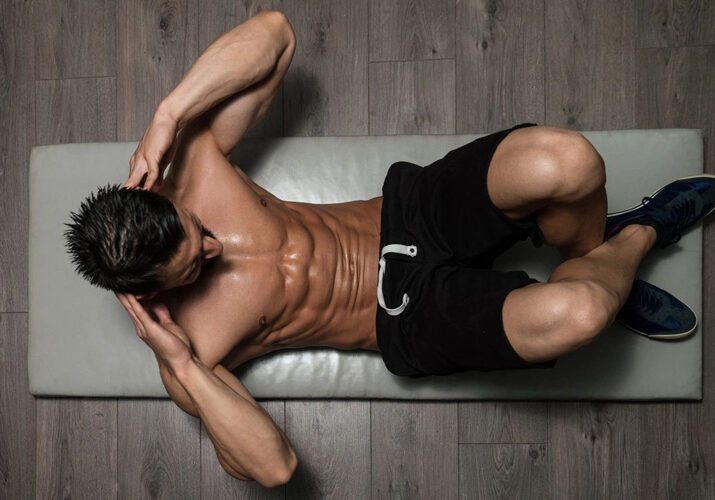
Step 1: Lay flat on your back on a floor or mat. Place your hands behind your head. This will be your starting position. Step 2: Raise your torso off the floor (or mat). Exhale and engage your obliques as you twist your torso towards the right and simultaneously raise your right knee into your…
Read MoreFloor Leg Raises
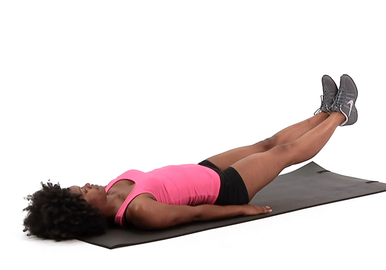
Follow These Steps: Step 1. While lying flat on your back (on the floor or a mat), extend your legs in front of you. Step 2. Position your hands outstretched to both sides (for support) or place them under your buttock. This is your starting position. Step 3. While contracting your abs (keeping your abs…
Read MoreCrunches (on the Floor or Mat)
Follow These Steps: Step 1. While laying on your back with your feet flat on the floor, bend your knees. Step 2. Position your hands behind your head. You can also place your hands across your chest. Be sure not to use your neck to raise into the crunch. This puts stress on the neck…
Read MoreDecline Bench Crunches
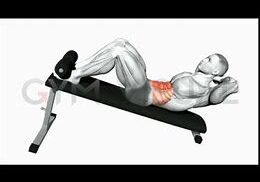
Follow These Steps: Step 1. Securely position your feet under the padding of a decline bench. This is for support. Step 2. Carefully, lay your back flat on the decline bench. You can position your hands either just behind your ears or cross them on your chest. This is your starting position. Step 3. While…
Read MoreAb Roller
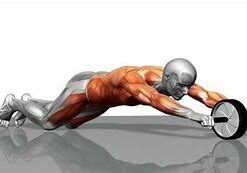
Step 1. While in a kneeling position on the floor or a mat, grab both handles of the Ab roller. This will be your starting position. Step 2. Slowly roll the ab roller straight in front of you and stretch your body outward. Inhale as you stretch your body forward. Step 3. Exhale as you roll…
Read MoreHanging Leg Raises
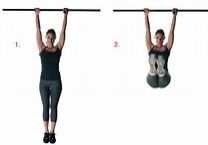
Follow These Steps: Step 1. Begin by hanging from a chin up bar with your arms fully extended above your head and using a medium grip. Step 2. With both legs hanging, slowly raise both legs together and in towards your abs while keeping your torso from rocking. Be sure to blow out the air…
Read MoreAbdominals (Abs)
Oh, YESssss, the Abdominals or Abs, as most people refer to them, are sometimes the hardest body part to train…and see results. Who doesn’t want great abs? Abs, in fact, are at the top of most people’s list of body parts to get fit. A solid core also makes a strong back; they work hand…
Read MoreArms
Push Ups (triceps)
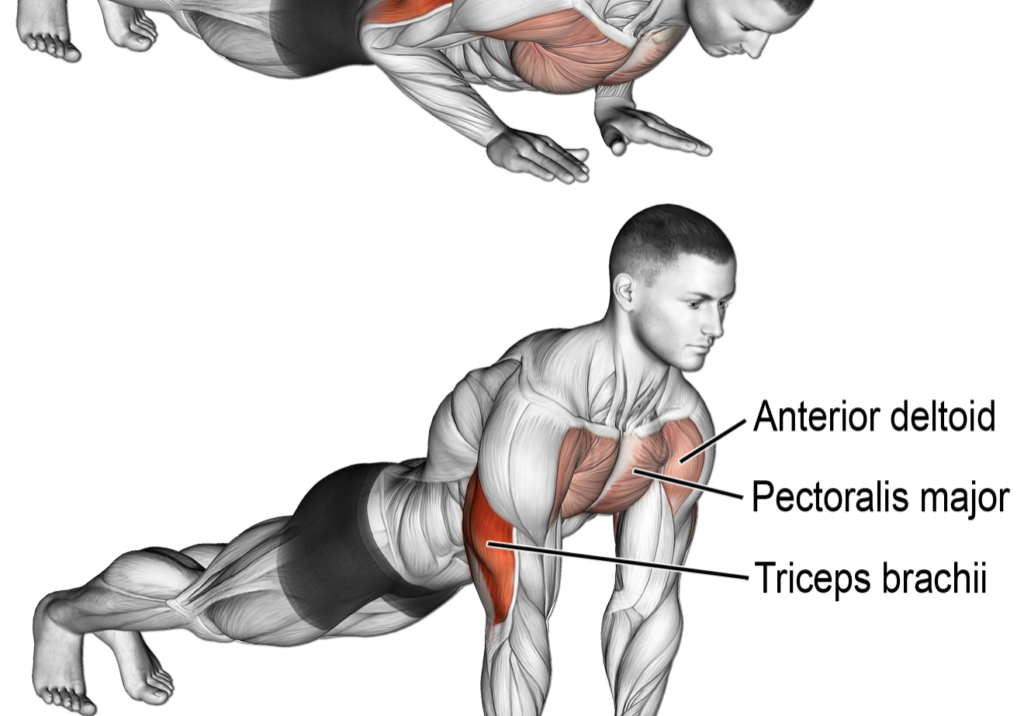
Step 1: Lower yourself to the floor and start in the prone position (face down). Place your hands on the floor right by the armpits. This is your starting position. Step 2: Begin by pressing your hands and toes into the floor simultaneously, thereby raising your body. Step 3: Lower your body back to the starting position. Step…
Read MoreTriceps Cable Machine Extension
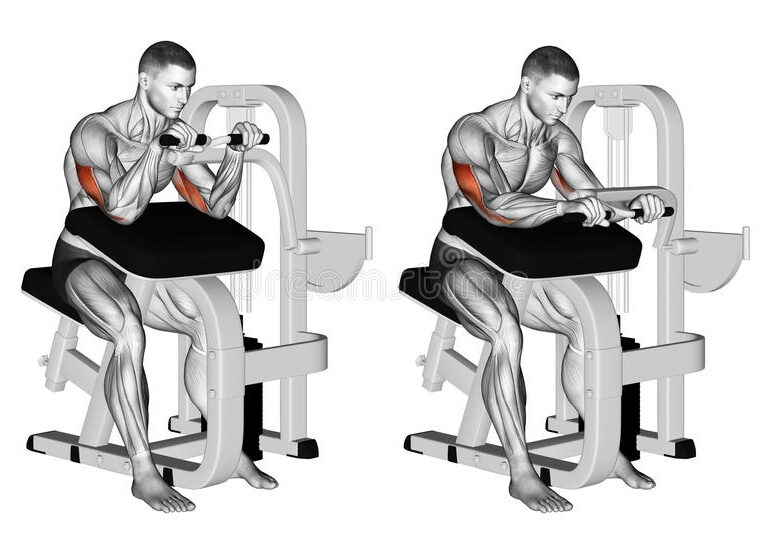
Follow These Steps: Step 1. While sitting at a triceps cable extension machine, adjust the seat to your liking. Choose the appropriate weight. Position your upper arms on the pads and grab each handle. This is your starting position. Step 2. Exhale as you push the bar down towards the floor. Keep your upper arm…
Read MoreTriceps Assisted Dip Machine
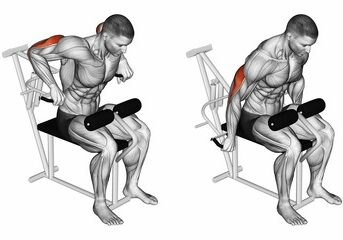
Follow These Steps: Step 1. While sitting at a triceps dip machine, adjust the seat to your specification. Choose the appropriate weight. Grab each handle making sure to keep your elbows at your sides and not flared out (this could cause injuries). This will be your starting position. Step 2. Exhale as you slowly push…
Read MoreFlat Bench Dumbbell Triceps Extension
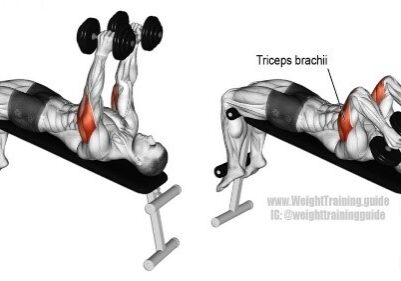
Follow These Steps: Step 1. Using a flat bench, lay down on your back with your feet flat on the floor. Grab a dumbbell for each hand. Your palms should be facing each other. This will be your starting position. Step 2. Inhale as you slowly lower the dumbbells towards your ears. Make sure to…
Read MoreBench Dips
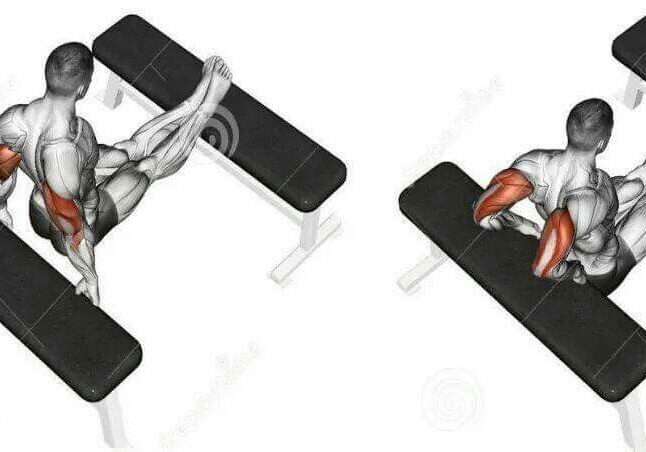
Follow These Steps: Step 1. Stand in front of a flat bench with another flat bench in front of you. Both benches should be horizontal to you and leg-width apart from each other. Step 2. Sit on the bench behind you with your legs on top of the bench in front of you. Both of…
Read MoreIncline Dumbbell Curls
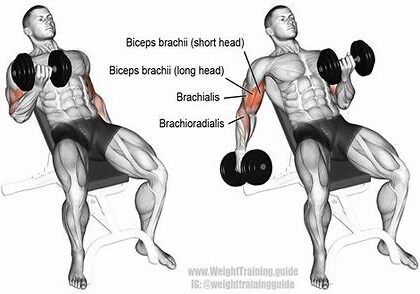
Follow These Steps: Step 1. While seated back on an incline bench, place a dumbbell in each hand with palms facing inward towards your thighs. Your feet should be flat on the floor. This is your starting position. Step 2. Keeping your elbows tucked at your sides, begin by slowly curling the dumbbell towards your…
Read MoreBarbell Concentration Curls
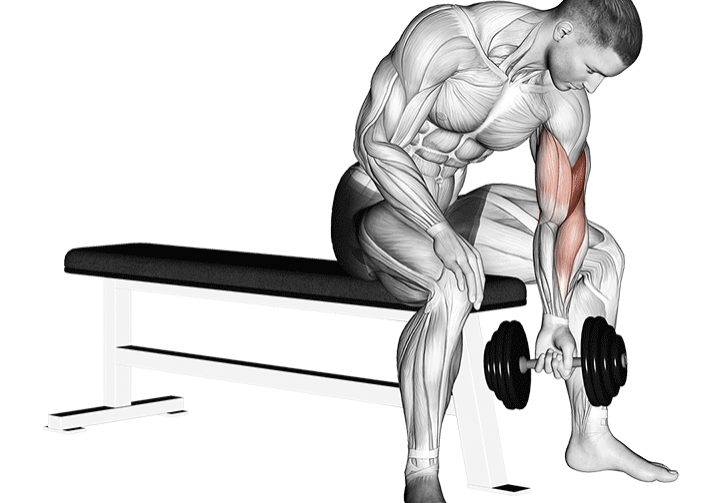
Follow These Steps: Step 1. While seated on a flat bench with feet flat on the floor and legs spread apart, hold a barbell in one hand (extended towards the floor). Your elbow should be rested against your inner thigh. Slightly lean forward. This is your starting position. Step 2. As you exhale, contract your…
Read MoreBarbell Preacher Curls
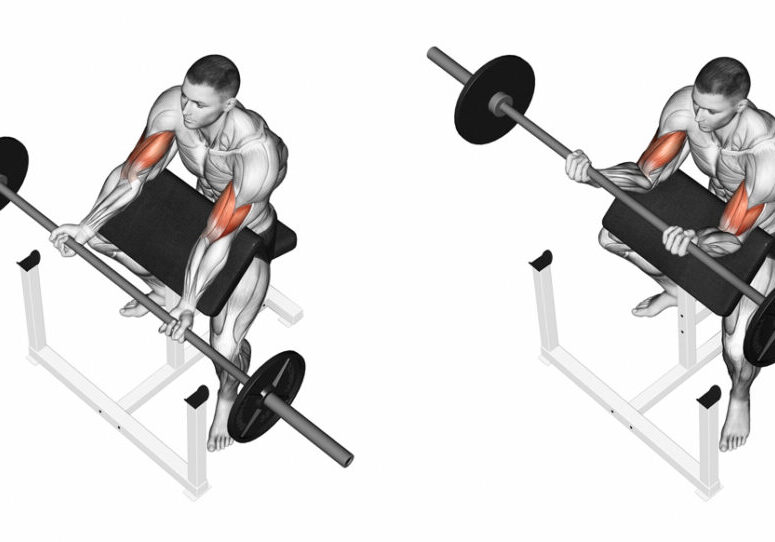
Follow These Steps: Step 1. While seated at a preacher curl bench with E-Z curl bar, grab the bar with palms fac-ing up. Step 2. With the E-Z bar in both hands, position the back of your forearms on the pad. Your arms should be shoulder width apart. This is your starting position. Step 3.…
Read MoreOne Arm Dumbbell Triceps Kickback
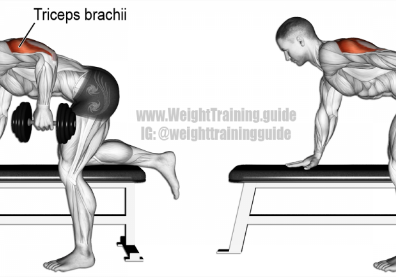
Follow These Steps: Step 1. Using a flat bench, place your left knee on the bench near the end of the bench. With your left hand on the bench to support your weight, bend over and with your right hand, grab a dumbbell (already on the floor). Your torso should be just about parallel to…
Read MoreThe Arm
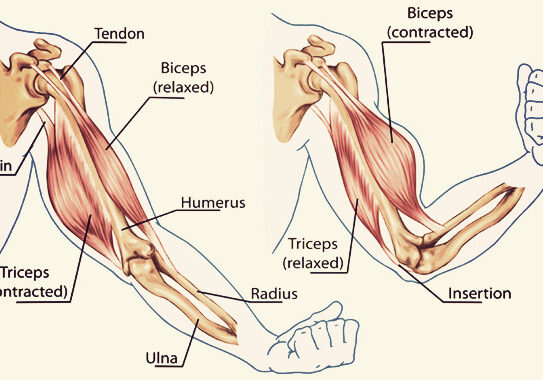
Did you know that the upper arm is composed of the triceps and the biceps? The triceps muscles are the larger of the two. To achieve balance, be sure to train biceps and triceps. Biceps Anatomy & Tips The biceps are located on the front of the upper arm between the shoulder and elbow. It…
Read MoreBack
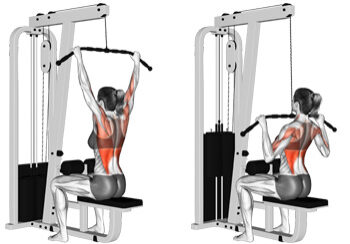
Wide-Grip Lat Pull Down
Step 1: While seated facing a pull down machine, adjust the knee pads so that your knees fit securely beneath the knee pads. Your feet should be flat on the floor. Step 2: With a pronated grip (palms facing away from you), grasps the bar with both hands. You will use a wide grip (slightly…
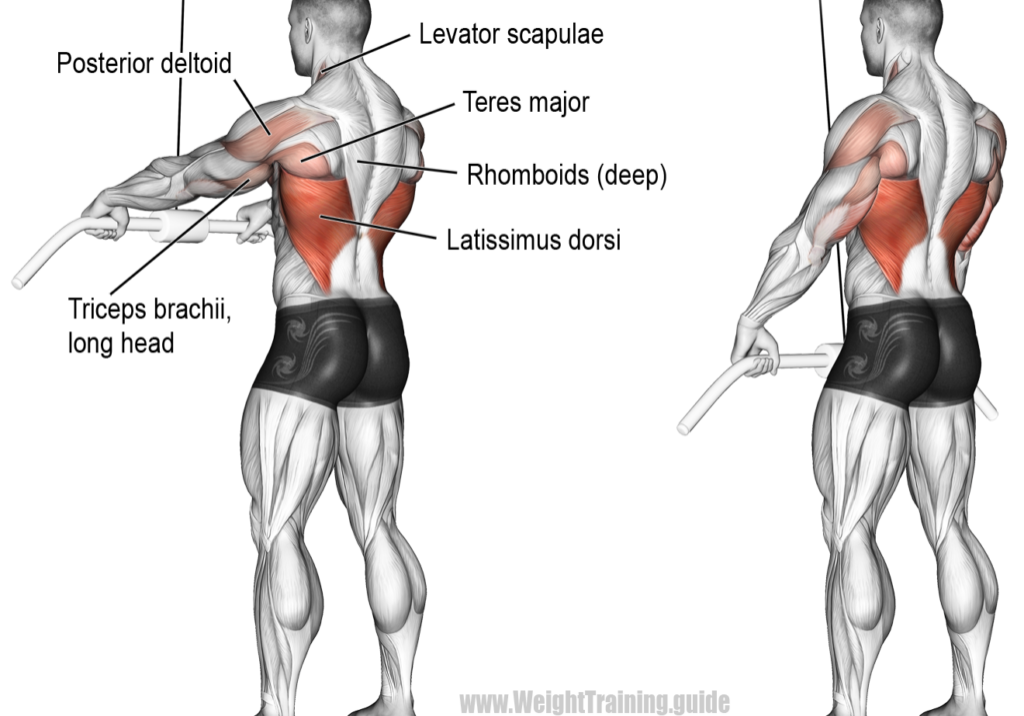
Read MoreStraight Arm Lat Pull Down
Follow These Steps: Step 1. While standing in front of a cable machine, grab the bar using a slightly wider than shoulder-width grip. Your palms should be facing down. Give yourself enough room to pull the bar down in front of you. Lean forward slightly. Your arms should be fully extended making sure to have…
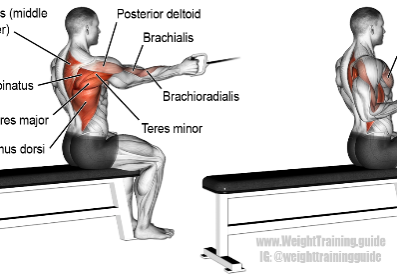
Read MoreOne-Arm Seated Cable Row
Follow These Steps: Step 1. While sitting at a cable pully machine, place your feet on the foot pads in front of you. Your knees should be slightly bent. Grab the pulley with your left hand with your palms facing towards your torso. Keep a slight bend in your back. Keep your chest up. This…
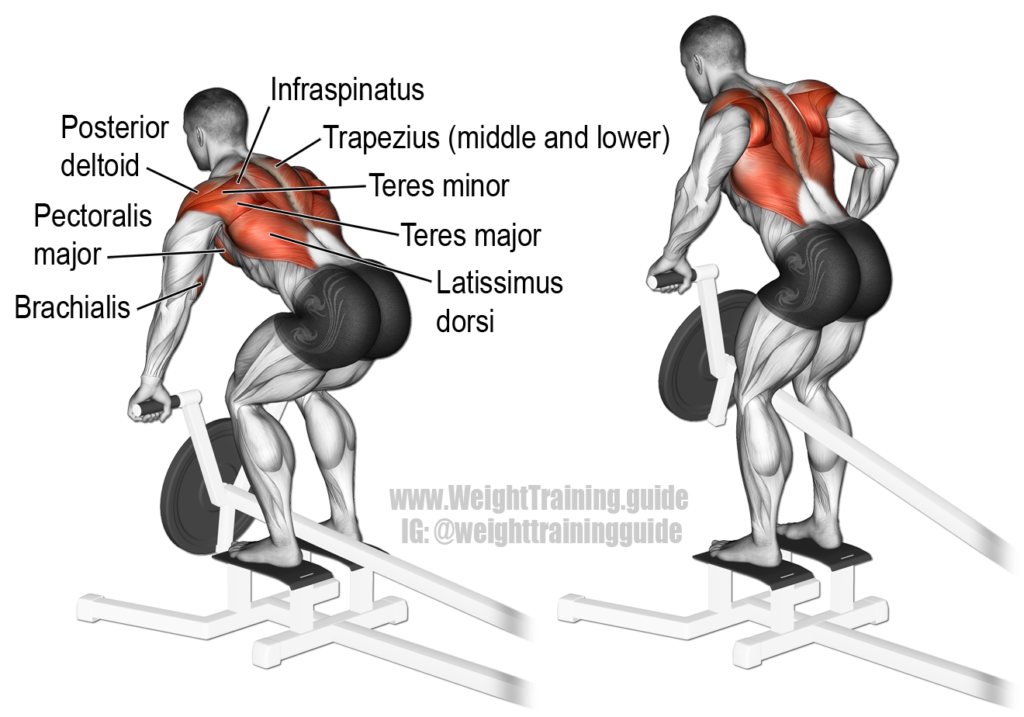
Read MoreT-Bar Row
Follow These Steps: Step 1. With knees bent and your chest slightly parallel to the floor, lift the bar from the rack (or floor) and slowly bring it towards your chest. With the bar in both hands, extend your arms in front of you. This will be your starting position. Step 2. Exhale and pull…
Read MoreMachine Assisted Lat Pull Ups
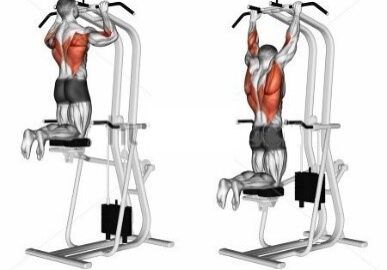
Follow These Steps: Step 1. Use an assisted pull-up machine by carefully putting both knees on the pad as you grab the overhead bar securely with both hands. Your palms should be facing away from your body. Use a slightly wider than shoulder-width grip. Carefully, lower your body until both arms are fully extended above…
Read MoreBent Over Dumbbell Row
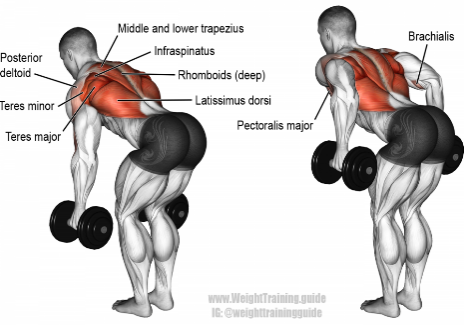
Follow These Steps: Step 1. Hold a dumbbell in each hand with palms facing your sides and with your elbows slightly bent. Bend at the waist and knees. Your torso should be just about parallel to the floor. Allow the dumbbells to hang slightly in front of you. Keep your elbows close to your sides.…
Read MoreChin Up’s
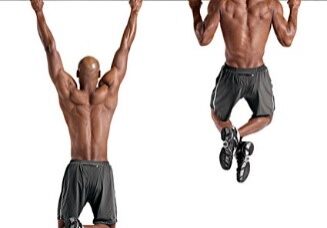
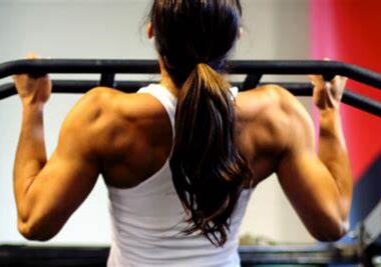
Follow These Steps: Step 1. Grip the chin up bar firmly using a close grip. Your palms should be facing towards your body. Your hands should be spaced close together and your arms fully extended. Allow your body to hang from the bar. This will be your starting position. Step 2. Exhale as you lift…
Read MoreBent Over Barbell Row
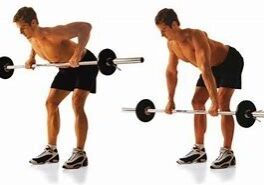
Follow These Steps: Step 1. Hold a barbell with palms down and with your elbows slightly bent. Bend at the waist and knees. Your torso should be just about parallel to the floor. Allow the barbell to hang slightly in front of you. Keep your elbows close to your sides. Keep your head up and…
Read MoreBack
The BACK Anatomy and Tips You need a strong and developed back to help stabilize and support the spine. Speaking of the spine. One can’t exactly have a backbone without a spine. Did you know that the human body starts out with 33 vertebrae then nine vertebrae fuse together to form two single bones? Five…
Read MoreDeltoid
Barbell Deadlift
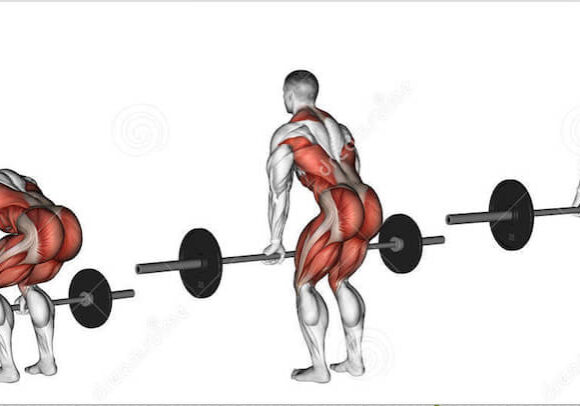
Follow These Steps: Step 1. Stand shoulder-width apart with a barbell on the floor in front of you. This will be your starting position. Step 2. Bend at the knees to lower your body. Place your hands just outside of your shins. Exhale as you raise the bar off the floor. Do not jerk the…
Read MoreBarbell Squats
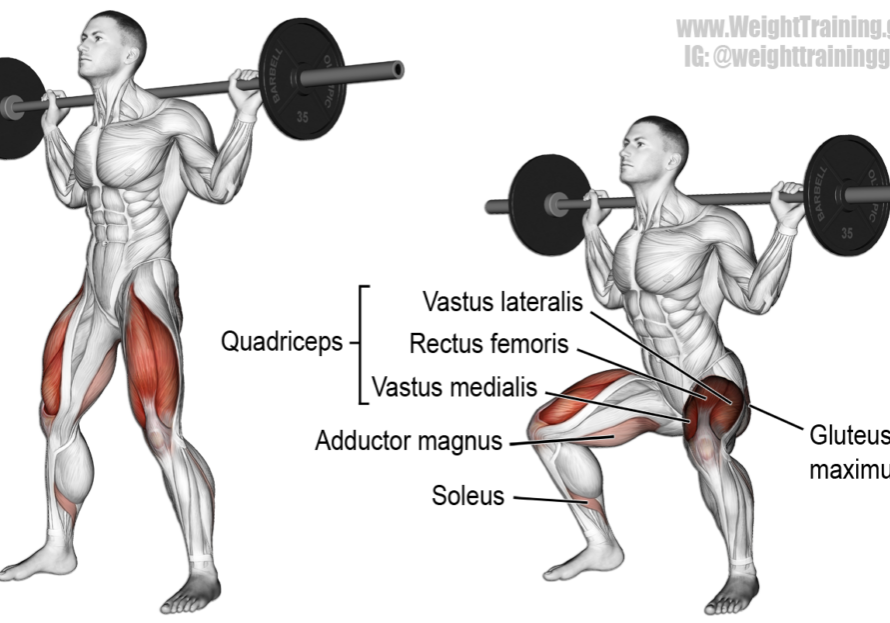
Follow These Steps: Step 1. Stand shoulder width apart with barbell across upper back. With both hands, firmly grasps the bar. Point your feet outward. This is your starting position. Step 2. Exhale as you lower your body into a squatting position. Make sure your knees do not extend pass your toes. Step 3. Inhale…
Read MoreBody Weight Squats
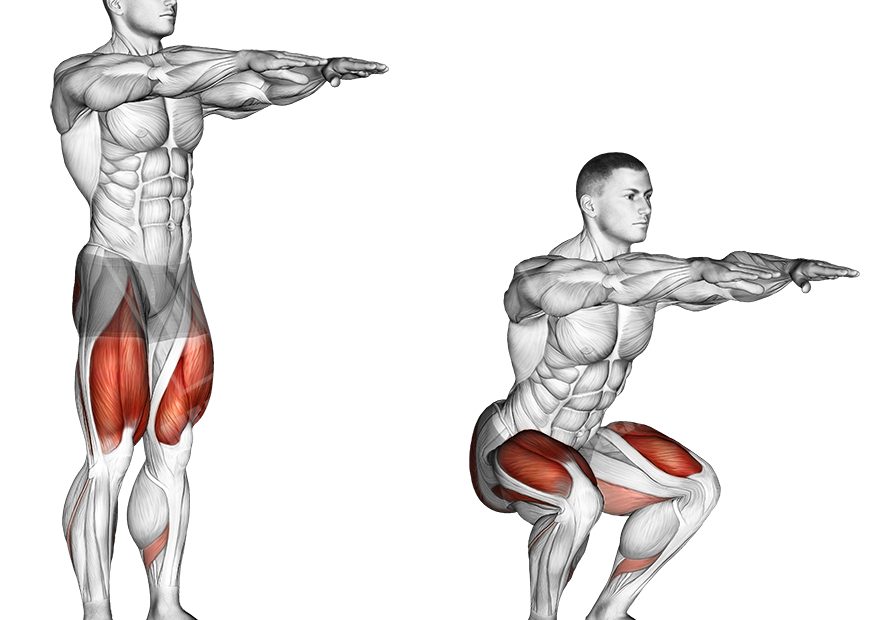
Follow These Steps: Step 1. Stand shoulder width apart with arms down at sides. This is your starting position. Step 2. Exhale as you lower your body into a squatting position. Make sure your knees do not extend pass your toes. Step 3. Inhale as you return to your starting position. Step 4. Repeat steps…
Read MoreCalf Raises (body weight only)
Follow These Steps: Step 1. Stand straight with both feet about shoulder-width apart. This will be your starting position. Step 2. Exhale as you slowly raise your heel as high as you can off the floor. Step 3. Inhale as you slowly return to the starting position. Pause, but do not stop. Step 4: Repeat…
Read MoreCalf Raises on Leg Press Machine
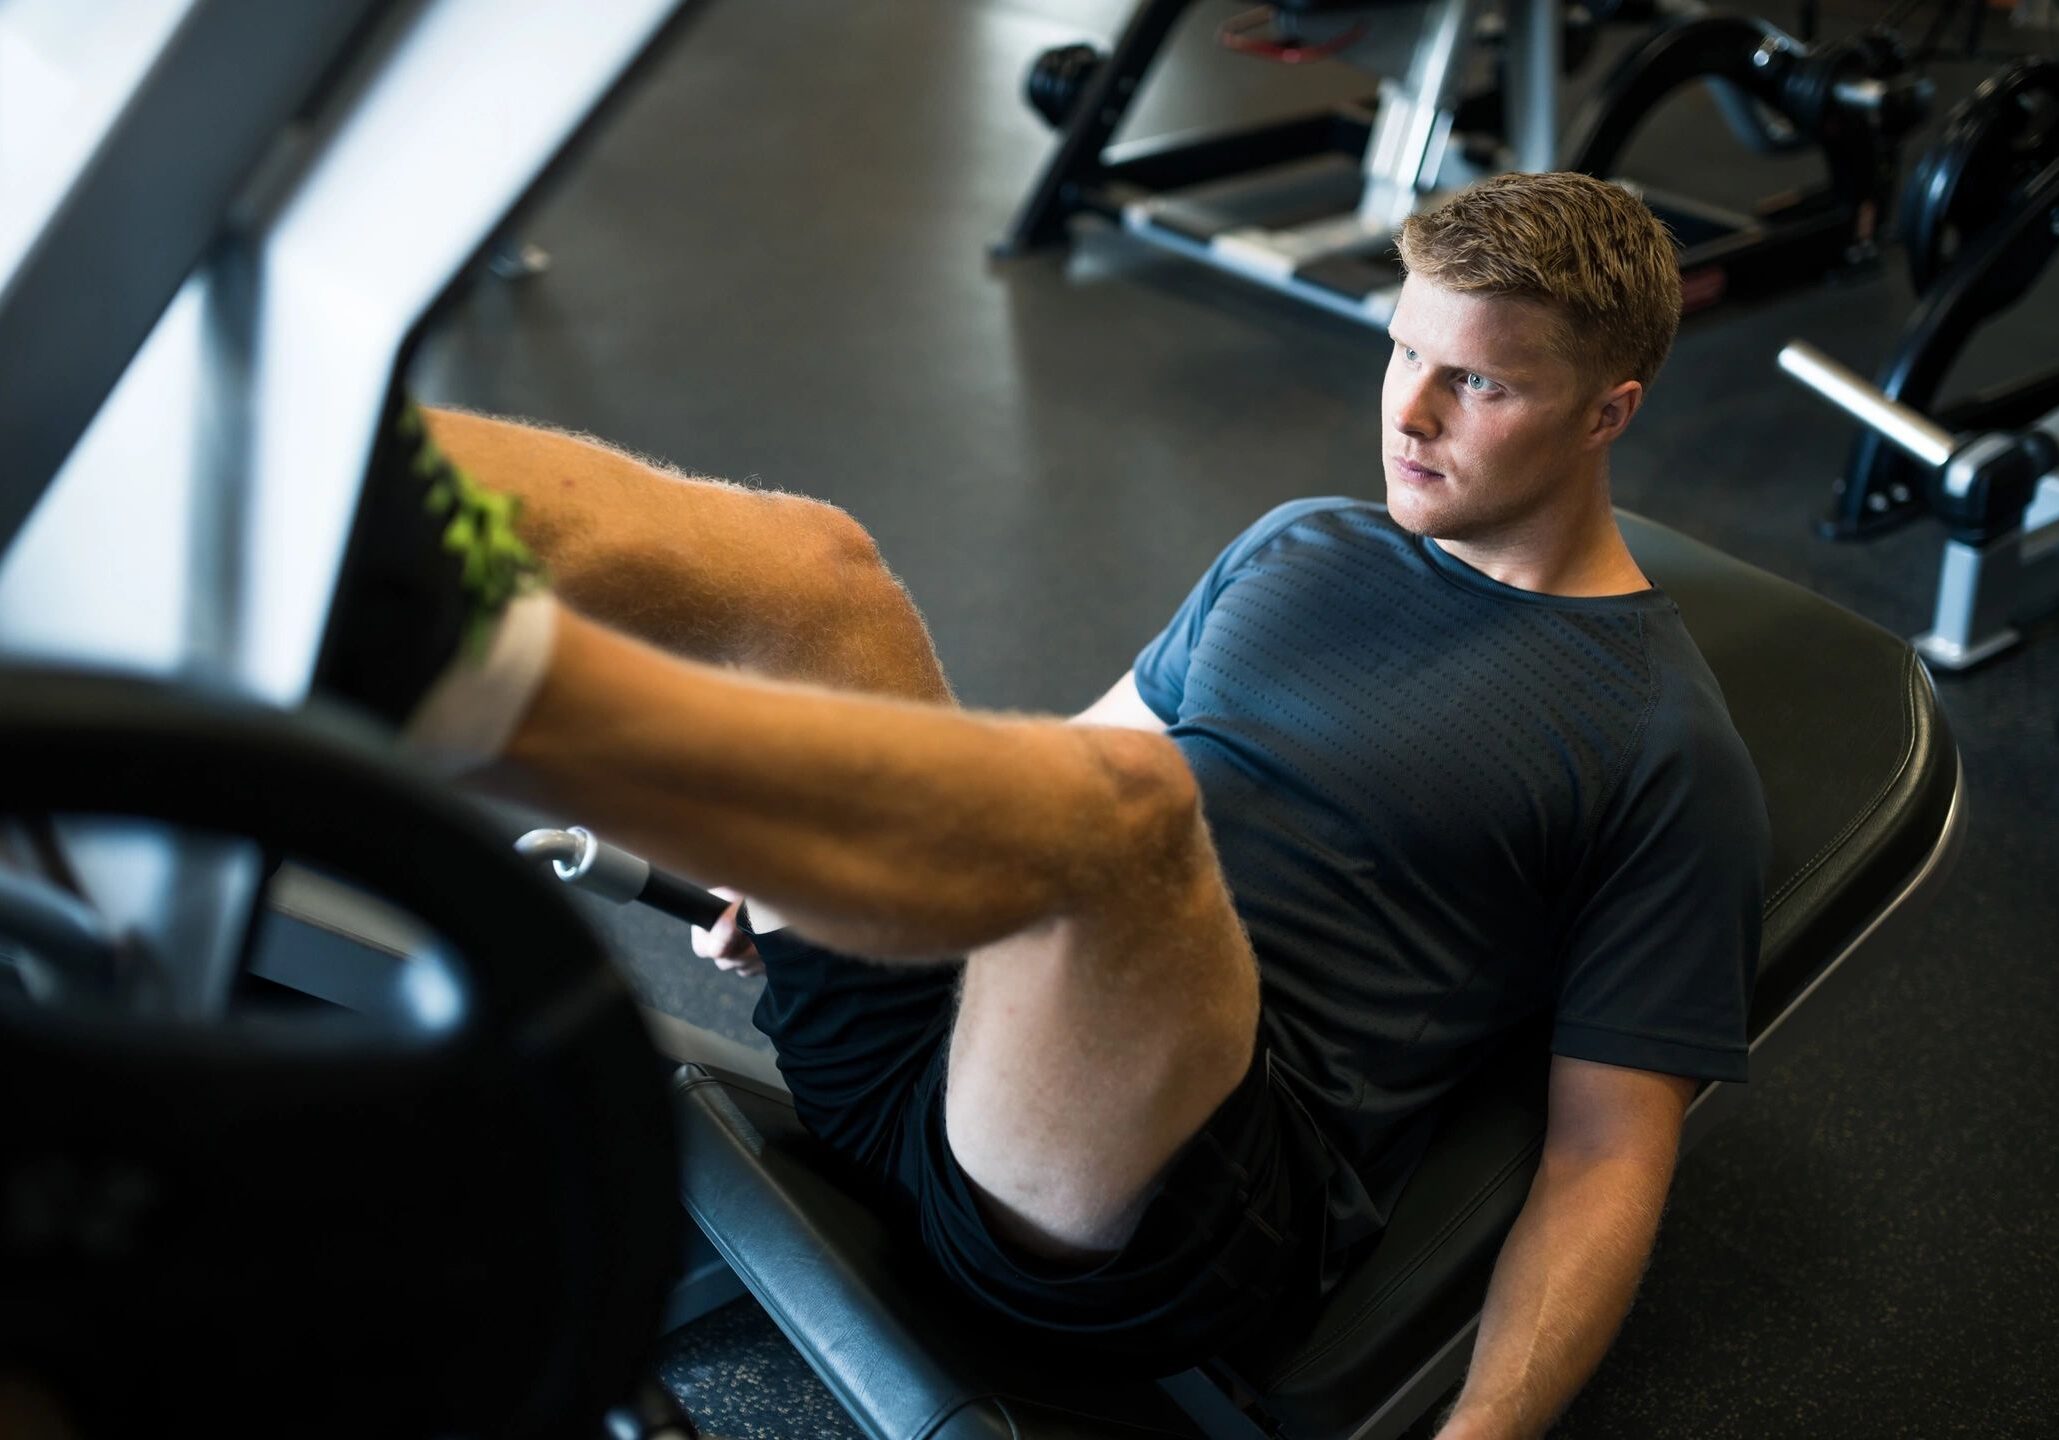
Follow These Steps: Step 1. While sitting on a leg press machine, position your legs on the press. Your legs should be about shoulder width apart. Make any adjustments needed for your height. If there is a safety bar, release it and extend your legs making sure not to lock your knees as this could…
Read MoreLegs
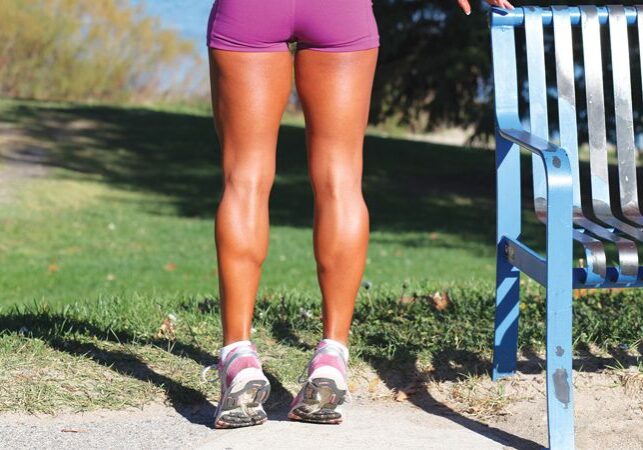
Calves The calf has two major muscles; the gastrocnemius and the soleus. The gastrocnemius muscle is located on the back of the lower leg, The gastrocnemius raises your body to an upright position. The soleus raises the body when the knees are bent. The gastrocnemius is visible under the skin. It is the larger of…
Read More